MENU
HOME
ALL COMICS
ABOUT US
SNAFU RSS
STORE
OFFICIAL DISCORD
SHARK ROBOT
HIVEWORKS
CURRENT SERIES
Satan's Excrement
by Mosama Binladden
Sugar Bits
by Nek and Bleedman
The Halfbound Blade
by Michael DeVillar
READ ALL SERIES
NEW UPDATES
Powerpuff Girls D
You Gotta Planet All Out
05/24/2025
Powerpuff Girls D
Bullet's Banana Splits The Difference
03/27/2025
Powerpuff Girls D
From the Jaws Of Defeat
03/17/2025
Powerpuff Girls D
Step By Step, Bit By Bit
02/11/2025
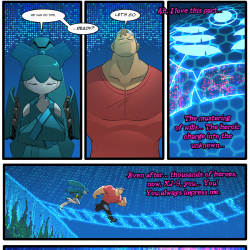
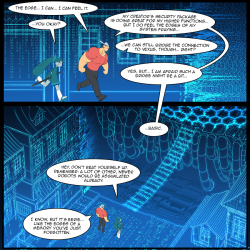
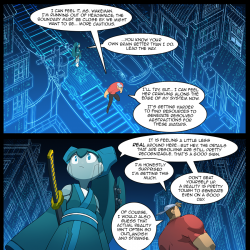
Powerpuff Girls D
Abridging the Digital Abyss
01/10/2025
Powerpuff Girls D
Bunny Ear Today, Bunny Gone Tomorrow
12/07/2024